

There’s something truly special about homemade ice cream. The process, the anticipation, and the final product all combine to create a delightful experience.
Our focus today is on a classic favorite: strawberry ice cream.
This isn’t just any strawberry ice cream, though. This is a homemade strawberry ice cream recipe that’s sure to impress. It’s creamy, it’s fresh, and it’s packed with real strawberry flavor.
But what sets this recipe apart is its simplicity. No eggs are needed, making it a great choice for those with dietary restrictions.
We’ll also explore a delicious variation: a strawberry cheesecake ice cream recipe. Imagine the tangy creaminess of cheesecake, combined with the sweet freshness of strawberries.
Whether you’re an experienced home cook or a beginner, this guide is for you. We’ll walk you through each step, ensuring your homemade strawberry ice cream turns out perfect.
So, are you ready to dive into the world of homemade ice cream? Let’s get started.
Why Homemade Strawberry Ice Cream is a Must-Try
Homemade strawberry ice cream is a treat like no other. The freshness of the strawberries, the creaminess of the base, and the satisfaction of making it yourself all contribute to its appeal.
Unlike store-bought versions, homemade ice cream allows you to control the ingredients. You can avoid preservatives and artificial flavors, opting for fresh, natural ingredients instead. This not only enhances the taste but also makes it a healthier choice.
Moreover, making ice cream at home is a fun and rewarding activity. It’s a great way to spend time with family or friends, and the end result is a delicious dessert that everyone can enjoy. Once you’ve tried homemade strawberry ice cream, you’ll understand why it’s a must-try.
Selecting Your Ingredients
The key to a great homemade strawberry ice cream lies in the quality of your ingredients. Fresh, ripe strawberries are the star of this recipe. They provide the natural sweetness and vibrant color that make this dessert so appealing.
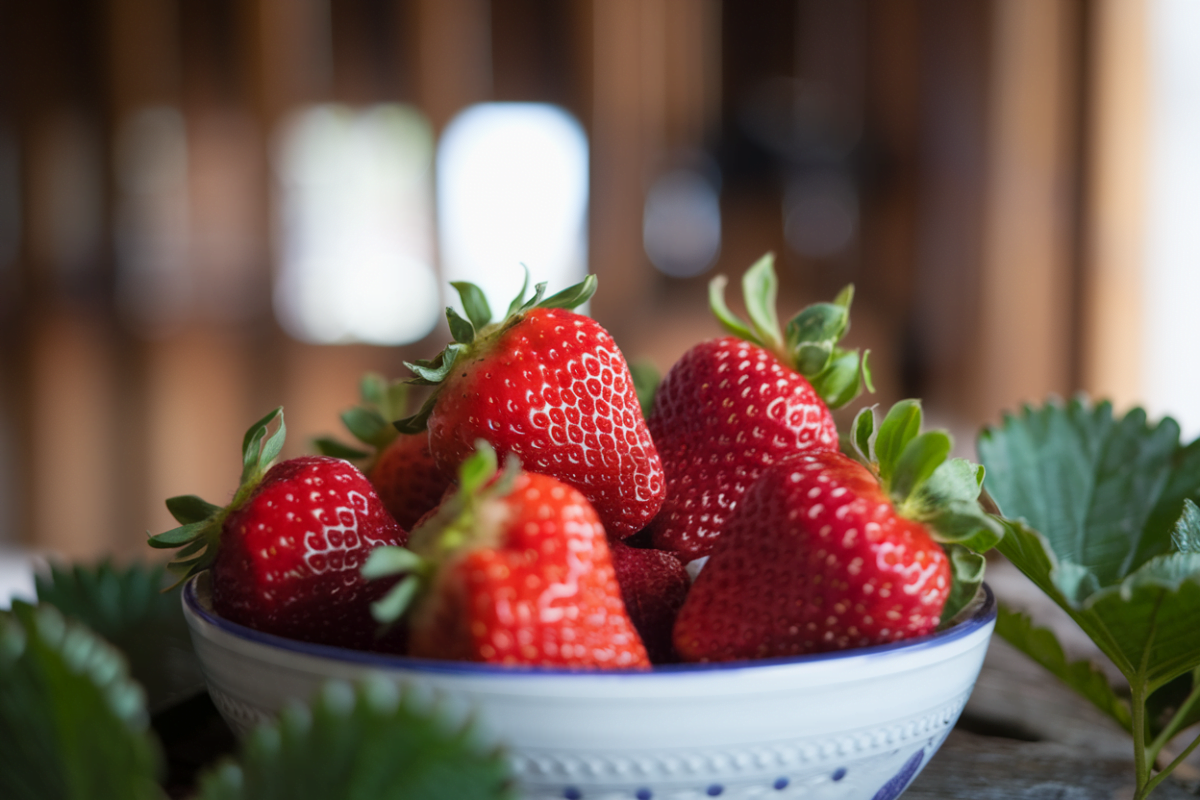
When selecting strawberries, look for ones that are bright red, firm, and fragrant. Avoid those with white or green spots, as they are not fully ripe. The size of the strawberries doesn’t matter as much as their ripeness and flavor.
In addition to strawberries, you’ll need sugar, heavy cream, and milk. Here’s a quick list of the main ingredients:
- Fresh strawberries
- Sugar
- Heavy cream
- Milk
Fresh vs. Frozen Strawberries
While fresh strawberries are ideal, you can also use frozen strawberries for this recipe. Frozen strawberries are often picked at peak ripeness and can be a good alternative when fresh strawberries are out of season.

Just make sure to thaw them before use and drain any excess liquid. This will prevent your ice cream from becoming too icy.
The Best Dairy for Your Ice Cream
The type of dairy you use can greatly affect the texture of your ice cream. For a rich and creamy texture, heavy cream is the best choice. It has a high fat content which contributes to the smoothness of the ice cream.
Milk is also used in this recipe to balance out the richness of the cream. Whole milk is recommended for its full-bodied flavor and creamy texture. Avoid using low-fat or non-fat milk as they can result in a less creamy and more icy texture.
Preparing Your Strawberries
Before you start making your ice cream, you’ll need to prepare your strawberries. This involves washing, hulling, and slicing them. Washing removes any dirt or pesticides, while hulling removes the green leafy part at the top of the strawberry.

After washing and hulling, slice the strawberries into small pieces. This will make it easier to puree them later on. If you prefer a chunkier texture in your ice cream, you can leave some pieces larger.
Remember, the smaller the pieces, the smoother your ice cream will be. So, if you want a perfectly smooth ice cream, consider pureeing your strawberries completely. If you like a bit of texture, mash them with a fork instead. This will leave small bits of strawberries in your ice cream, adding a delightful burst of flavor with each bite.
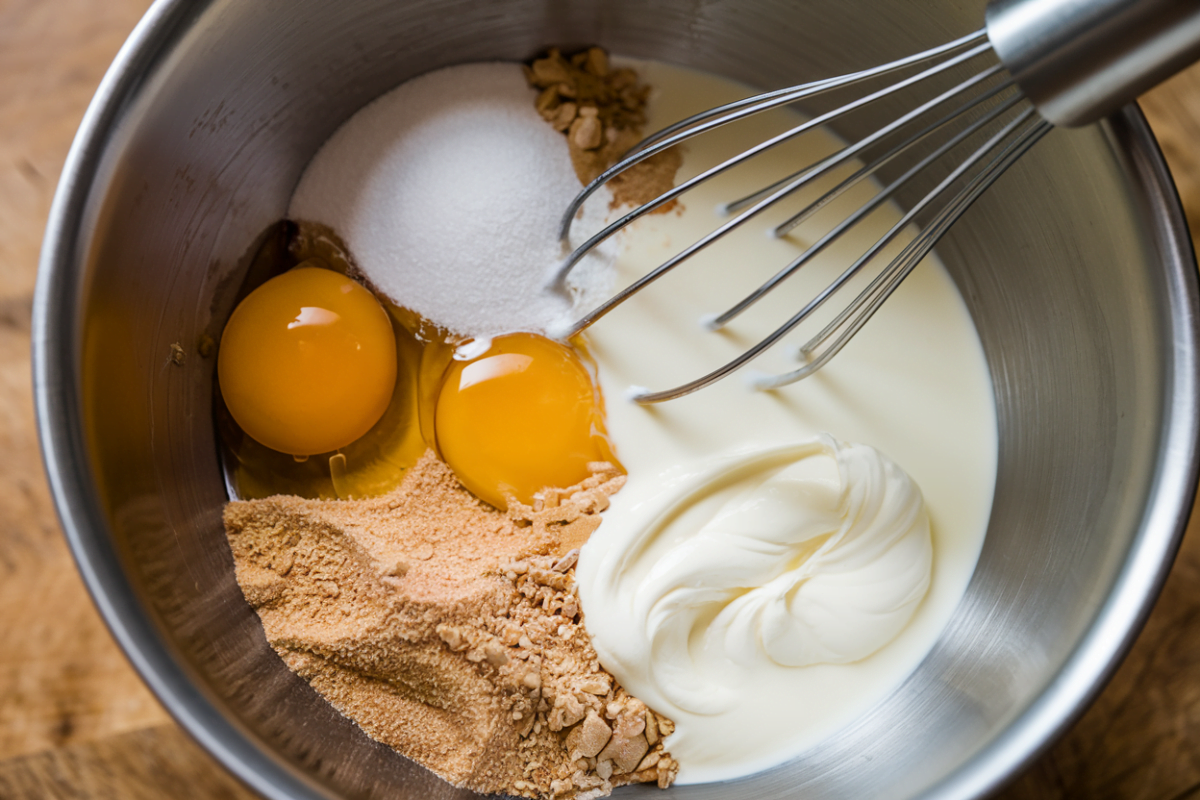
Crafting the Perfect No-Egg Ice Cream Base
Creating a no-egg ice cream base might seem daunting, but it’s simpler than you think. The key is to balance your ingredients correctly. This recipe uses a combination of heavy cream and milk, which provides a rich, creamy texture without the need for eggs.
The sugar in the recipe not only sweetens the ice cream but also plays a crucial role in its texture. It lowers the freezing point of the mixture, preventing it from becoming a solid block of ice. Instead, you get a soft, scoopable delight.
The strawberries add natural sweetness and flavor to the ice cream. They also contribute to the overall texture. When pureed, strawberries release their natural juices, which blend with the cream and sugar to create a smooth, velvety ice cream base.
Finally, a touch of vanilla extract enhances the flavor of the strawberries and adds depth to the ice cream. It’s a small ingredient that makes a big difference, so don’t skip it!
The Role of Sugar and Alternatives
Sugar is a key player in ice cream making. It not only sweetens the mixture but also affects its texture. Sugar lowers the freezing point of the ice cream base, preventing it from turning into a solid block of ice.
If you’re looking to reduce the sugar content, you can use alternatives like honey or maple syrup. These natural sweeteners can replace sugar in the recipe, but keep in mind that they will slightly alter the flavor of your ice cream.
Achieving Creaminess Without Eggs
You might be wondering how to achieve creaminess in ice cream without using eggs. The secret lies in the combination of heavy cream and milk. This duo creates a rich, creamy base that rivals any egg-based ice cream.
The fat content in heavy cream contributes to the creaminess of the ice cream. It also helps to stabilize the mixture, preventing ice crystals from forming during the freezing process.
Remember, the key to a creamy, no-egg ice cream is to use high-quality ingredients and follow the recipe closely. With these tips in mind, you’re well on your way to creating a delicious homemade strawberry ice cream.
Step-by-Step Guide to Making Strawberry Ice Cream
Making homemade strawberry ice cream is a rewarding process. It’s not just about the end result, but also the joy of creating something delicious from scratch. Here’s a step-by-step guide to help you through the process.
Start by washing and hulling your strawberries. You want to remove the green leafy part at the top, known as the hull. Once that’s done, cut the strawberries into small pieces.
Next, place the strawberries in a bowl and add sugar. The sugar will draw out the juices from the strawberries, creating a syrupy mixture. Let this sit for about an hour.
While the strawberries are macerating, you can prepare the cream mixture. Combine the heavy cream, milk, and sugar in a saucepan. Heat this mixture over medium heat until the sugar dissolves completely.
Once the sugar is dissolved, remove the cream mixture from the heat and let it cool. Then, add the strawberry mixture and vanilla extract. Stir everything together until it’s well combined.
Now, it’s time to churn the ice cream. Pour the mixture into your ice cream maker and churn according to the manufacturer’s instructions. This usually takes about 20-25 minutes.
After churning, transfer the ice cream to a lidded container. Cover it and place it in the freezer to harden. This will take at least 4 hours, but it’s best to leave it overnight.
Churning and Freezing: Tips and Techniques
Churning is a crucial step in ice cream making. It incorporates air into the mixture, which gives the ice cream its light, creamy texture. If you don’t have an ice cream maker, you can still make ice cream at home. You just need to stir the mixture every 30 minutes as it freezes to prevent large ice crystals from forming.
Freezing is the final step in the process. It’s important to freeze your ice cream properly to achieve the right texture. Too fast, and you’ll end up with a hard, icy dessert. Too slow, and the ice cream may become grainy.
The best way to freeze your ice cream is to transfer it to a shallow, lidded container. This allows the ice cream to freeze evenly. Remember to cover the ice cream with a piece of plastic wrap before putting the lid on. This prevents ice crystals from forming on the surface.
No Ice Cream Maker? No Problem!
Don’t have an ice cream maker? Don’t worry. You can still make delicious homemade strawberry ice cream. The process is slightly different, but the result is just as satisfying.
Start by following the recipe up to the point where you combine the strawberry and cream mixtures. Instead of pouring the mixture into an ice cream maker, pour it into a shallow, freezer-safe dish. Place the dish in the freezer.
Every 30 minutes, take the dish out of the freezer and stir the mixture vigorously. This helps to break up any ice crystals that form, giving the ice cream a smoother texture. Repeat this process until the ice cream is firm and creamy, which usually takes about 3-4 hours. Now, you have homemade strawberry ice cream, no ice cream maker required!
Strawberry Cheesecake Ice Cream Variation
If you’re a fan of both strawberry ice cream and cheesecake, why not combine the two? This variation adds a rich, tangy twist to the classic strawberry ice cream recipe. It’s like having your cake and eating it too!
“ “
“
To make strawberry cheesecake ice cream, you’ll need to add cream cheese to the recipe. After pureeing the strawberries, blend in 8 ounces of softened cream cheese until smooth. Then, proceed with the rest of the recipe as usual.
The cream cheese adds a delightful richness to the ice cream. It also enhances the creaminess, making for an indulgent treat. For an extra touch of cheesecake flavor, consider adding some graham cracker crumbs.
Mix in the crumbs after the ice cream has churned but before it goes into the freezer. About 1/2 cup should do the trick. The crumbs add a nice crunch and make the ice cream taste just like strawberry cheesecake!
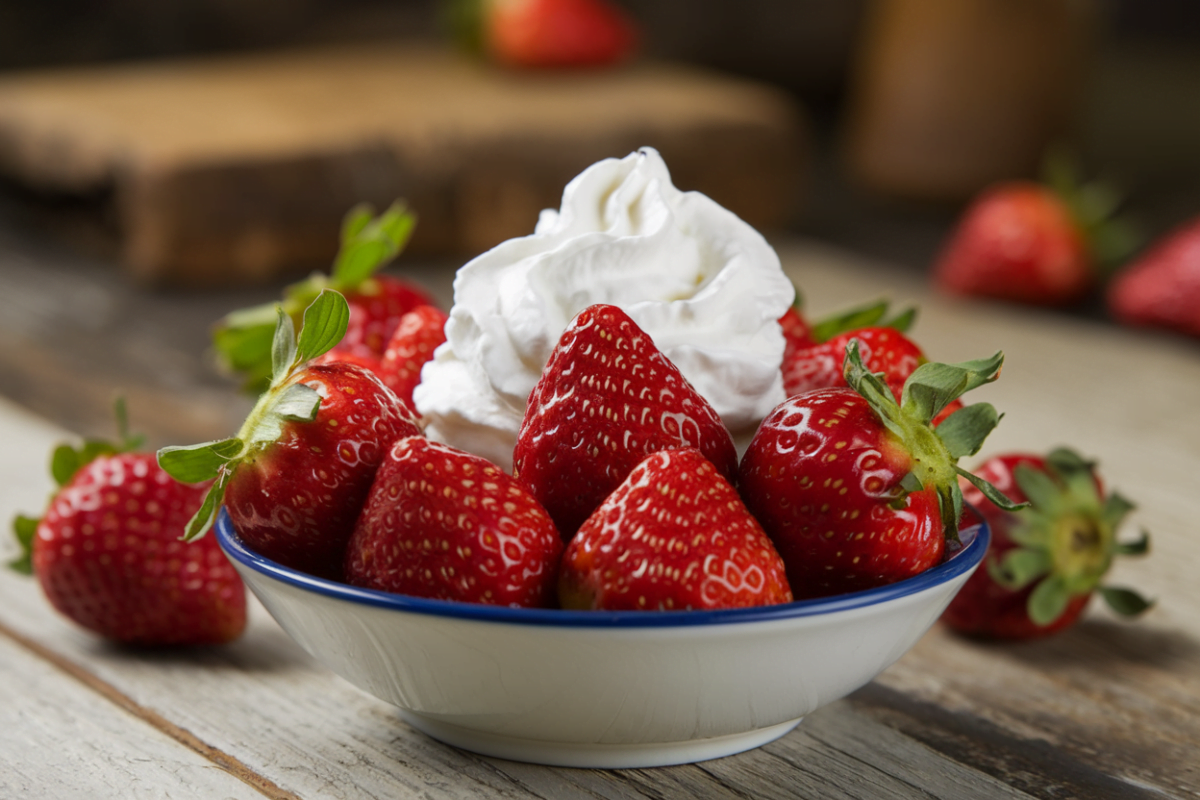
Mix-Ins and Toppings for Added Delight
Once you’ve mastered the basic recipe, feel free to get creative with mix-ins and toppings. They can add extra flavor, texture, and visual appeal to your homemade strawberry ice cream.
Here are a few ideas:
- Fresh fruit: Sliced strawberries, blueberries, or peaches can add a refreshing touch.
- Nuts: Chopped almonds, pecans, or walnuts can provide a satisfying crunch.
- Chocolate: Chocolate chips or chunks can add a sweet contrast to the tangy strawberries.
- Sauces: Drizzle your ice cream with chocolate sauce, caramel, or strawberry syrup for extra decadence.
Remember, the sky’s the limit when it comes to homemade ice cream. Don’t be afraid to experiment and find your perfect combination!
Storing Your Homemade Ice Cream
Once you’ve made your delicious homemade strawberry ice cream, you’ll want to store it properly to maintain its freshness and texture. The key is to prevent ice crystals from forming, which can make the ice cream hard and icy.
First, transfer the ice cream to an airtight container. A shallow, wide container is best as it promotes faster freezing and helps the ice cream stay soft. Then, press a piece of plastic wrap directly onto the surface of the ice cream before putting the lid on. This extra barrier helps to keep out air, which can lead to freezer burn. Store the ice cream at the back of your freezer where the temperature is the coldest and most consistent. With these tips, your homemade strawberry ice cream should stay fresh and creamy for up to two weeks. Enjoy!
Serving and Presentation Ideas
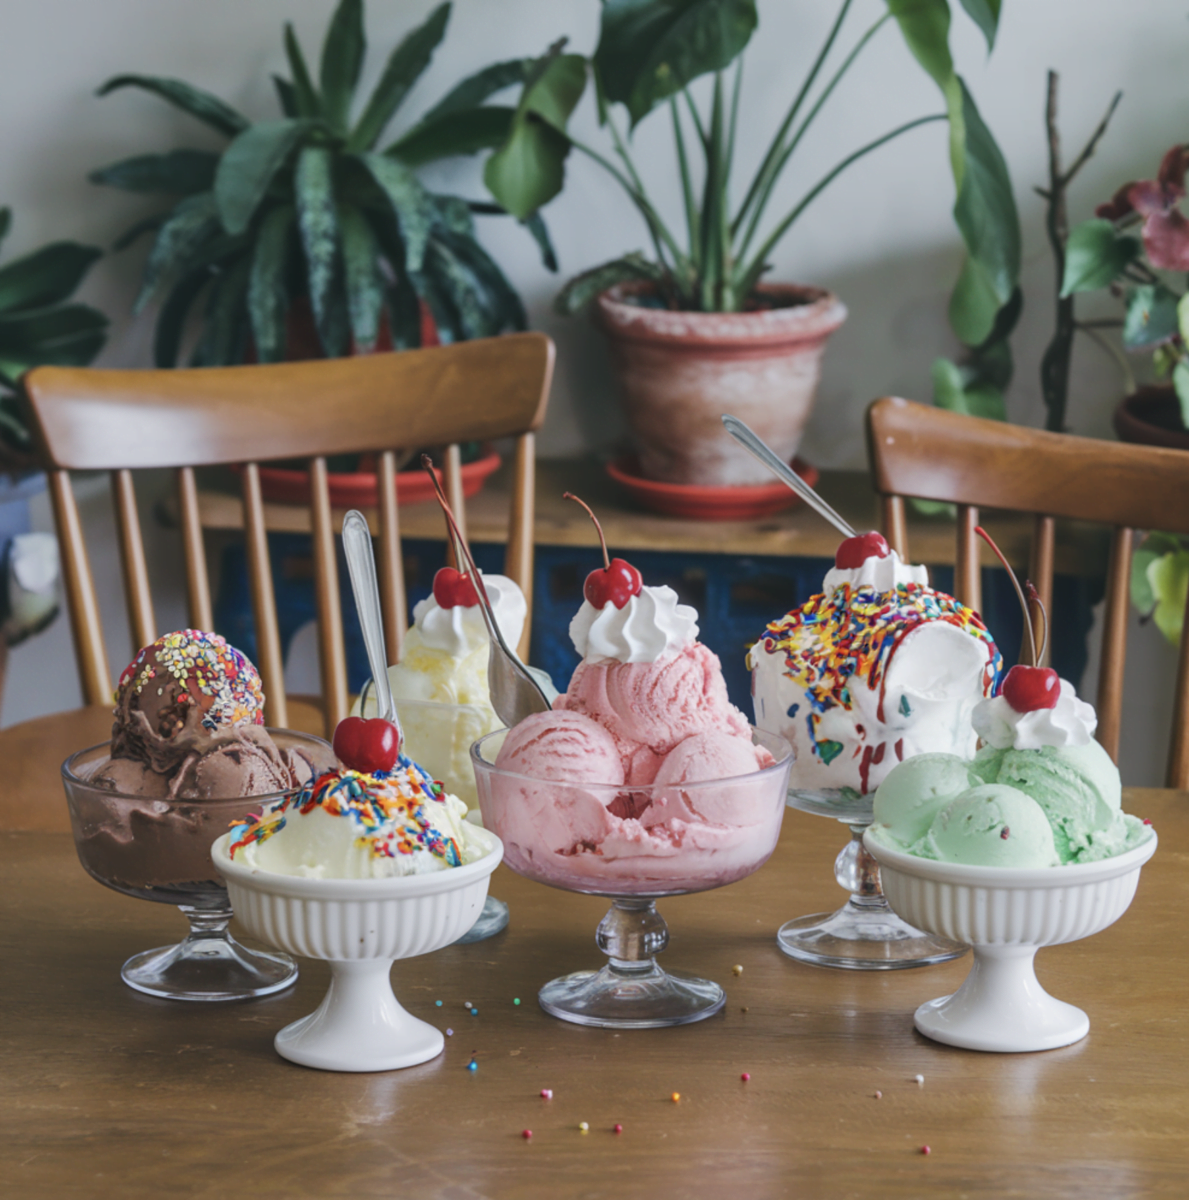
Now that you’ve made your homemade strawberry ice cream, it’s time to serve it up in style. Presentation can make your homemade dessert even more special and appealing.
Consider serving your ice cream in chilled bowls or classic ice cream cones for a nostalgic touch. For a more elegant presentation, serve scoops of ice cream in a martini glass, topped with fresh strawberries and a sprig of mint. You could also make a sundae by layering your ice cream with whipped cream, fresh fruit, and a drizzle of chocolate or strawberry sauce. The possibilities are endless, so get creative and enjoy your homemade treat!
FAQs About Homemade Strawberry Ice Cream
Many people have questions when making homemade ice cream for the first time. Here are some common queries and their answers.
Why is my homemade ice cream icy? This can happen if the ice cream mixture isn’t churned enough or frozen too quickly. Make sure to churn the mixture until it’s thick before freezing.
Can I use low-fat milk instead of heavy cream? Yes, but the texture will be less creamy and more icy. Heavy cream gives ice cream its rich, smooth texture.
Why doesn’t this recipe use eggs? Eggs are often used in custard-based ice creams. This recipe is a Philadelphia-style ice cream, which is egg-free and has a lighter, fresher taste.
Can I use other fruits instead of strawberries? Absolutely! Feel free to experiment with other fruits. Just make sure to adjust the amount of sugar depending on the sweetness of the fruit.
How long does homemade ice cream last? Homemade ice cream is best enjoyed within two weeks. After that, it can start to develop ice crystals.
Do I need an ice cream maker to make this recipe? No, you don’t. While an ice cream maker does make the process easier, you can also make it by hand. Check out our section on making ice cream without a machine.
Can I make this recipe vegan? Yes, you can substitute the dairy with coconut milk or another non-dairy alternative. Keep in mind that this will change the flavor and texture of the ice cream.
Why is my ice cream too hard? Your freezer might be set too cold. Homemade ice cream is best stored at around -18°C (0°F). If it’s still too hard, let it sit at room temperature for a few minutes before serving.
Can I double this recipe? Yes, but make sure your ice cream maker can handle the increased volume. If making by hand, you might need to freeze the mixture in batches.
Why is homemade ice cream better? Homemade ice cream allows you to control the ingredients and avoid preservatives. Plus, you can customize the flavors to your liking. There’s also a certain satisfaction in enjoying a dessert you made yourself!
Conclusion: Enjoy Your Homemade Creation
There’s nothing quite like the taste of homemade strawberry ice cream. It’s a delightful blend of sweet, creamy, and fresh flavors that store-bought versions simply can’t match. Whether you’re making it for a special occasion or just to satisfy a craving, this recipe is sure to impress.
Remember, the joy of homemade ice cream extends beyond the eating. It’s about the process of creating something from scratch, experimenting with flavors, and sharing your creations with others. So, don’t be afraid to get creative and make this recipe your own. Happy ice cream making!