
Cheesecake is a classic dessert that many people love, but it can be intimidating to make from scratch. The process often involves careful attention to detail and a lot of patience, which can deter even the most enthusiastic home bakers. However, with the Instant Pot, you can create a delicious and creamy cheesecake without the fuss and complexity of traditional methods. In this article, we’ll walk you through the steps to make a Preppy Kitchen Instant Pot Cheesecake that will impress your family and friends. You’ll find that with the right tools and guidance, making cheesecake can be an enjoyable and rewarding experience.
Why Choose an Instant Pot recipes for Cheesecake?
The Instant Pot has become a beloved kitchen gadget for its versatility and convenience. It’s a multi-functional device that can handle a wide range of cooking tasks, from slow cooking to pressure cooking, and even yogurt making. When it comes to making cheesecake, the Instant Pot offers several benefits:
- Even Cooking: The Instant Pot provides a consistent temperature, ensuring your cheesecake cooks evenly. This is especially important for cheesecakes, which require gentle, even heat to prevent cracking.
- Time-Saving: Traditional cheesecake recipes can take hours, with lengthy baking and cooling times. The Instant Pot significantly reduces cooking time, allowing you to enjoy your dessert sooner without compromising on quality.
- Ease of Use: With the Instant Pot, you don’t need to worry about water baths or complicated baking techniques. The pressure cooking environment creates steam, which mimics the effect of a water bath, making the process much simpler.
Ingredients You’ll Need
Before you start, gather all your ingredients. Having everything prepared and measured out in advance will streamline the process and help ensure that you don’t forget any crucial components. Here’s what you’ll need for the Preppy Kitchen Instant Pot Cheesecake:
Crust
- 1 1/2 cups graham cracker crumbs
- 1/4 cup granulated sugar
- 1/2 cup unsalted butter, melted
The crust is the foundation of your cheesecake. A well-made crust should be firm yet tender, providing a perfect contrast to the creamy filling. The combination of graham cracker crumbs, sugar, and butter creates a deliciously sweet and buttery base.
Filling
- 24 oz cream cheese, softened
- 1 cup granulated sugar
- 3 large eggs
- 1/4 cup sour cream
- 1 teaspoon vanilla extract
- 1 tablespoon all-purpose flour
The filling is the star of the cheesecake. Using softened cream cheese ensures a smooth texture, while the combination of sugar, eggs, and sour cream adds richness and flavor. The vanilla extract provides a hint of sweetness, and the flour helps to stabilize the mixture.
Topping (optional)
- Fresh berries
- Whipped cream
- Chocolate sauce
Toppings can elevate your cheesecake from delicious to extraordinary. Fresh berries add a burst of color and flavor, whipped cream provides a light, airy contrast, and chocolate sauce adds a touch of indulgence. Feel free to get creative with your toppings to suit your taste.
Step-by-Step Instructions
1. Prepare the Crust
First, prepare the crust. In a medium-sized bowl, combine the graham cracker crumbs, granulated sugar, and melted butter. Mix until the crumbs are evenly coated. This step ensures that the crust will hold together and provide a solid base for the filling.
Press the mixture firmly into the bottom of a 7-inch springform pan. Use the back of a spoon or a flat-bottomed glass to ensure the crust is even and compact. Place the crust in the freezer while you prepare the filling. Freezing the crust helps it set quickly, preventing it from becoming soggy when you add the filling.
2. Make the Filling
In a large mixing bowl, beat the softened cream cheese until smooth. Gradually add the granulated sugar, mixing until well combined. This step is crucial for achieving a silky-smooth texture in your cheesecake.
Add the eggs one at a time, mixing on low speed until just combined. Be careful not to overmix, as this can incorporate too much air into the batter, which can lead to cracks. The key is to mix just enough to combine the ingredients without adding unnecessary air.
Next, add the sour cream, vanilla extract, and all-purpose flour. Mix until smooth and creamy. The flour acts as a stabilizer, helping the cheesecake set properly without cracking.
3. Assemble the Cheesecake
Remove the crust from the freezer and pour the filling over it. Smooth the top with a spatula to ensure an even surface. Smoothing the top helps the cheesecake cook evenly and look more appealing once it’s set.
Cover the springform pan tightly with aluminum foil to prevent condensation from dripping onto the cheesecake during cooking. This step is important to maintain the cheesecake’s texture and appearance.
4. Prepare the Instant Pot dessert
Pour 1 1/2 cups of water into the Instant Pot. Place a trivet or metal rack in the bottom of the pot. The water creates steam, which helps cook the cheesecake evenly and gently.
Carefully lower the covered springform pan onto the trivet. Make sure it is stable and level. Ensuring the pan is level will help the cheesecake cook evenly and prevent one side from cooking faster than the other.
5. Cook the Cheesecake
Secure the lid on the Instant Pot and set the valve to the sealing position. Select the “Pressure Cook” or “Manual” setting and set the timer for 35 minutes. This cooking method uses the steam created inside the pot to cook the cheesecake gently and evenly.
Once the cooking cycle is complete, allow the pressure to release naturally for 10 minutes, then perform a quick release to release any remaining pressure. Natural release helps the cheesecake finish cooking evenly and prevents sudden changes in temperature that can cause cracks.
6. Cool the Cheesecake
Carefully remove the cheesecake from the Instant Pot and uncover it. Let it cool to room temperature on a wire rack. Cooling slowly prevents the cheesecake from developing cracks as it sets.
Once cooled, refrigerate the cheesecake for at least 4 hours or overnight to allow it to set fully. Chilling the cheesecake allows the flavors to meld and the texture to firm up, making it easier to slice and serve.
7. Serve and Enjoy
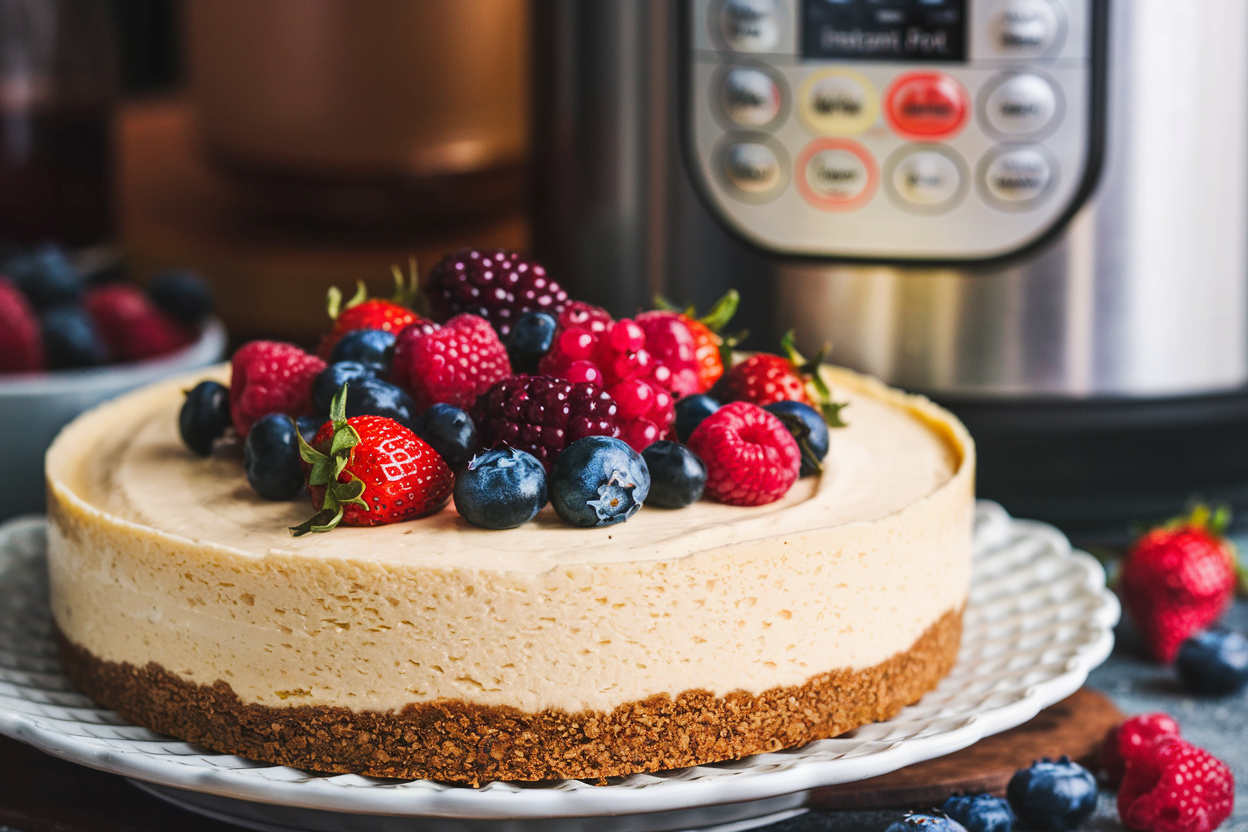
Before serving, you can add your favorite toppings, such as fresh berries, whipped cream, or chocolate sauce. These additions enhance the flavor and presentation of your cheesecake.
Slice the cheesecake with a sharp knife, wiping the blade clean between cuts for neat slices. Serve and enjoy your delicious Preppy Kitchen Instant Pot Cheesecake! The clean cuts make for a professional-looking presentation that will impress your guests.
Tips for Success
- Room Temperature Ingredients: Ensure your cream cheese and eggs are at room temperature for a smoother filling. Cold ingredients can lead to a lumpy batter, which affects the texture of the cheesecake.
- Avoid Overmixing: Overmixing can incorporate too much air, leading to cracks in your cheesecake. Mix just enough to combine the ingredients for a smooth, crack-free cheesecake.
- Water Bath Alternative: The Instant Pot creates a steamy environment, acting as a water bath and preventing cracks. This feature is one of the main advantages of using an Instant Pot for cheesecake.
Troubleshooting Common Issues
Cracks in the Cheesecake
Cracks can occur if the cheesecake is overmixed or if there are sudden temperature changes. To avoid this, make sure to mix the ingredients just until combined and allow the cheesecake to cool gradually. A gradual cooling process helps the cheesecake settle without cracking.
Soggy Crust
A soggy crust can result from not sealing the springform pan tightly enough. Ensure the aluminum foil is wrapped tightly around the pan to prevent condensation from seeping in. A tight seal keeps the moisture out and the crust crisp.
Undercooked Center
If the center of your cheesecake is undercooked, you can return it to the Instant Pot for an additional 5-10 minutes of cooking time. Check the doneness by inserting a toothpick into the center; it should come out clean. This ensures that your cheesecake is fully set and safe to eat.
Variations to Try
Once you’ve mastered the basic Preppy Kitchen Instant Pot Cheesecake, you can experiment with different flavors and variations to keep your dessert menu exciting and varied:
- Chocolate Cheesecake: Add 1/2 cup of melted chocolate to the filling for a rich chocolate flavor. This creates a decadent, chocolate-infused dessert perfect for chocolate lovers.
- Lemon Cheesecake: Add 2 tablespoons of lemon juice and 1 tablespoon of lemon zest to the filling for a refreshing twist. The citrus notes complement the creamy cheesecake beautifully, adding a bright, tangy flavor.
- Pumpkin Cheesecake: Substitute 1 cup of pumpkin puree for one of the eggs and add 1 teaspoon of pumpkin pie spice. This variation is perfect for fall, combining the comforting flavors of pumpkin and spice with the creamy texture of cheesecake.
Conclusion
Making a cheesecake from scratch doesn’t have to be daunting. With the Instant Pot, you can create a creamy and delicious Preppy Kitchen Instant Pot Cheesecake with ease. The process is simplified, allowing even novice bakers to achieve professional results. Follow our step-by-step instructions and tips for success, and you’ll have a dessert that will impress everyone at your next gathering. The satisfaction of making a homemade cheesecake is unmatched, and your guests will surely appreciate your efforts.
So, grab your Instant Pot and start baking! Your taste buds will thank you. Whether you’re making it for a special occasion or simply to satisfy a craving, this cheesecake is sure to be a hit. Embrace the convenience and creativity the Instant Pot offers, and enjoy your culinary journey.