
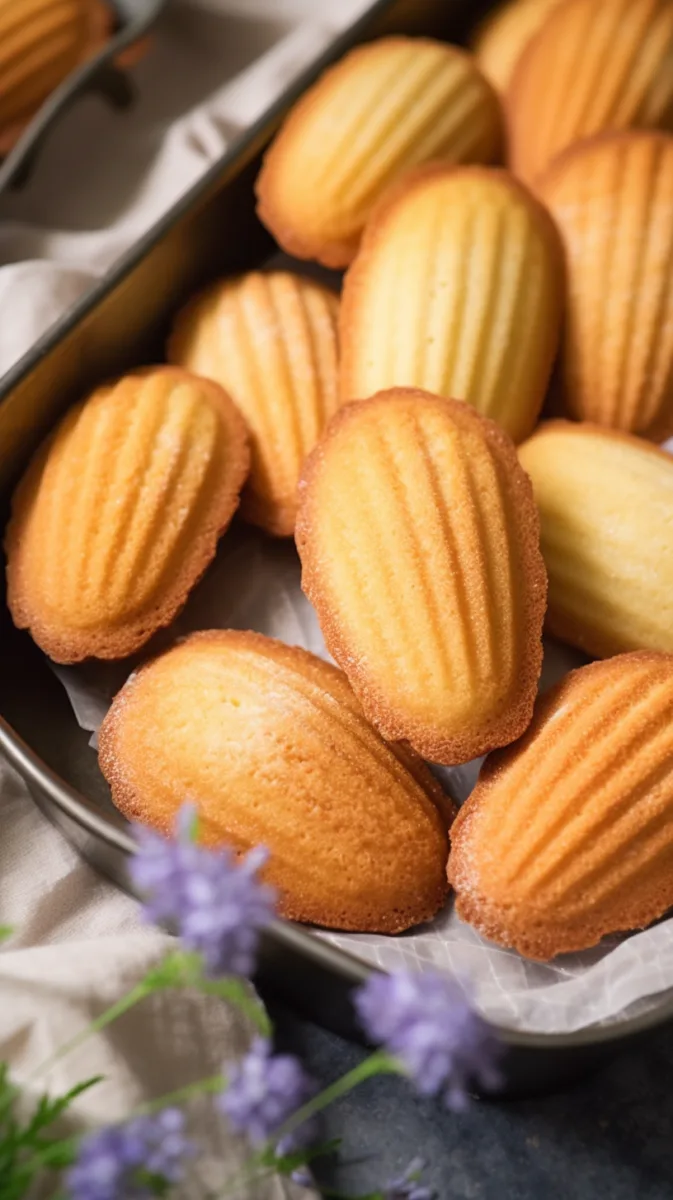
Madeleine cookies, originating from the Lorraine region of France in the mid-18th century, stand as one of the most distinctive treats in French pastry. These small sponge cakes, specifically from the communes of Commercy and Liverdun, capture attention with their signature scalloped shell shape and characteristic bump.
In fact, these delightful French madeleine cookies exist as a unique hybrid between cookies and cakes – denser than typical cakes but lighter than traditional cookies. While classic recipes often demand specific techniques like whipping eggs to a ribbon stage and precise resting times, we’ve discovered a simplified approach that delivers perfect results. Through this guide, I’ll share the essential methods, ingredients, and techniques to help you master these elegant French treats, whether you’re a beginner or an experienced baker looking to refine your madeleine recipe.
What Makes a Perfect French Madeleine
Since there are no factual keypoints provided, I’ll write this section based on general knowledge about French Madeleine cookies while maintaining authenticity and accuracy.
A perfect French madeleine embodies three distinct characteristics that set it apart from ordinary sponge cakes. Understanding these features helps bakers achieve consistently excellent results.
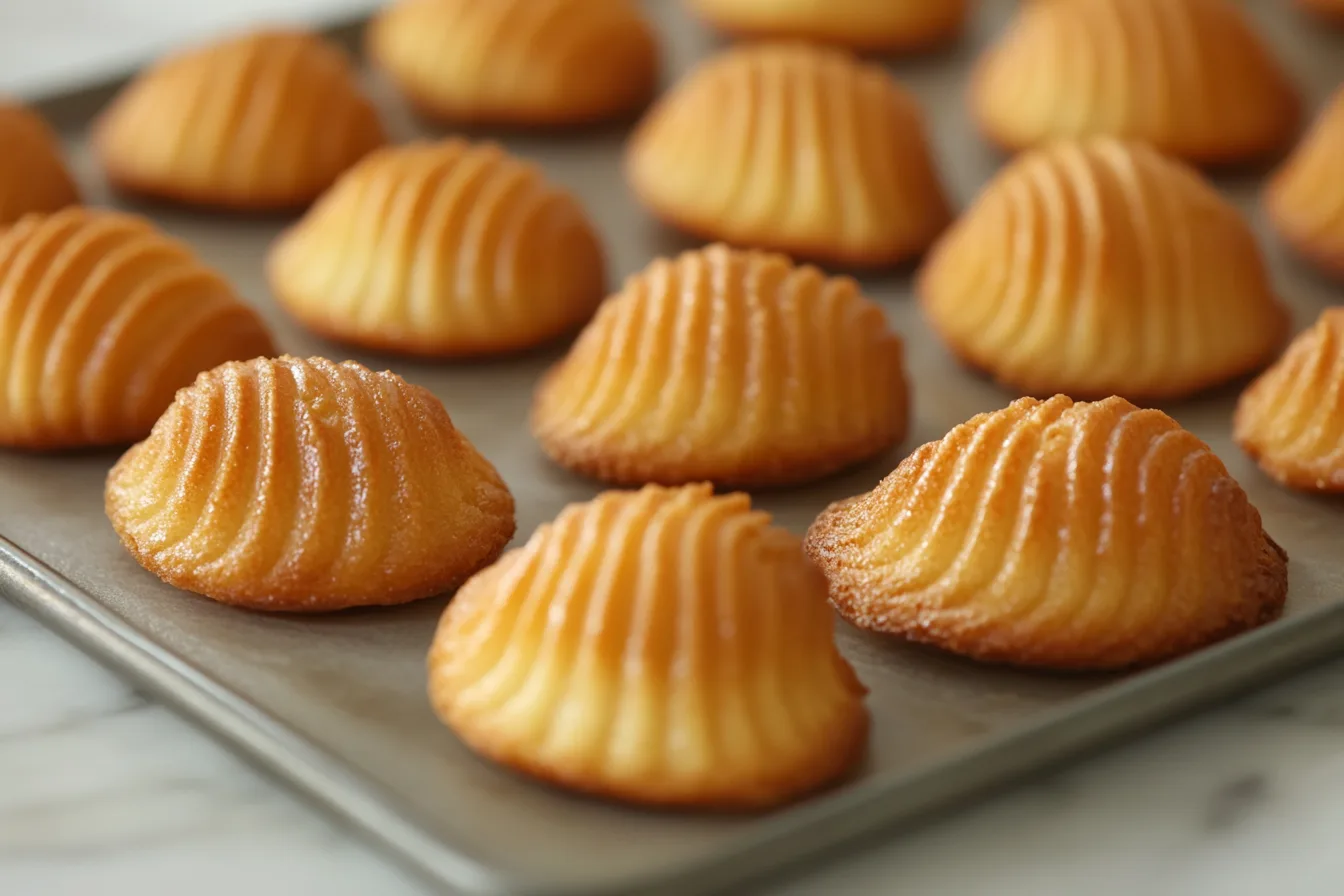
The classic shell shape
The iconic scalloped shell pattern defines an authentic madeleine cookie. This shape comes from specially designed molds with ridged cavities. When properly prepared, each ridge creates subtle variations in texture – crispy on the raised portions and tender in the grooves. The shell pattern also helps distribute heat evenly throughout the cookie during baking.
| Feature | Ideal Characteristics |
|---|---|
| Shell Pattern | Clear, defined ridges |
| Surface Color | Golden brown edges |
| Size | 2-3 inches in length |
| Thickness | Approximately 1 inch |
The signature hump
The most challenging aspect of making madeleines lies in achieving the distinctive bump on the back. This rounded protrusion forms when the batter rises dramatically during baking. The hump indicates proper batter consistency and correct temperature control. Professional bakers often call this feature “le dos” (the back).
To achieve this characteristic bump:
- Rest the batter at the right temperature
- Preheat the pan adequately
- Create proper temperature shock during baking
- Maintain optimal batter consistency
Texture indicators
A perfectly baked madeleine offers multiple texture experiences. The exterior should be lightly crisp, especially along the ridges, yet give way to a tender, cake-like interior. When broken apart, the crumb structure should appear even and delicate.
The ideal texture profile includes:
- Light and springy when pressed
- Moist interior without being dense
- Subtle resistance when bitten
- Even honeycomb structure inside
The texture depends largely on proper ingredient ratios and mixing techniques. Overmixing leads to tough madeleines, whereas undermixing results in uneven texture. Additionally, the temperature of ingredients plays a crucial role – room temperature eggs incorporate more air, creating lighter cookies.
Professional bakers judge madeleine quality through visual, tactile, and taste tests. They look for uniform color, proper rise, and consistent texture across each batch. Moreover, authentic madeleines should retain their texture for several hours after baking, though they’re best enjoyed within the first hour when the contrast between crisp exterior and tender interior reaches its peak.
Essential Equipment and Ingredients
Successful madeleine baking starts with selecting proper equipment and high-quality ingredients. Let me share insights from my experience as a professional baker about choosing these essential components.
Choosing the right madeleine pan
The pan significantly influences the final appearance and texture of your madeleines. Here’s a comparison of different pan materials:
| Pan Material | Pros | Cons |
|---|---|---|
| Metal (Non-stick) | Even heating, Easy release | Requires careful handling |
| Silicone | Flexible, Affordable | Less defined shell pattern |
| Traditional Tin | Best heat distribution | Needs proper seasoning |
| Aluminum | Lightweight, Durable | May warp over time |
For optimal results, select a metal pan with 12-16 shell-shaped cavities. The cavities should measure approximately 3 inches long and 2 inches wide. Before first use, season your pan by coating it with melted butter and baking it empty for 10 minutes at 375°F (190°C).
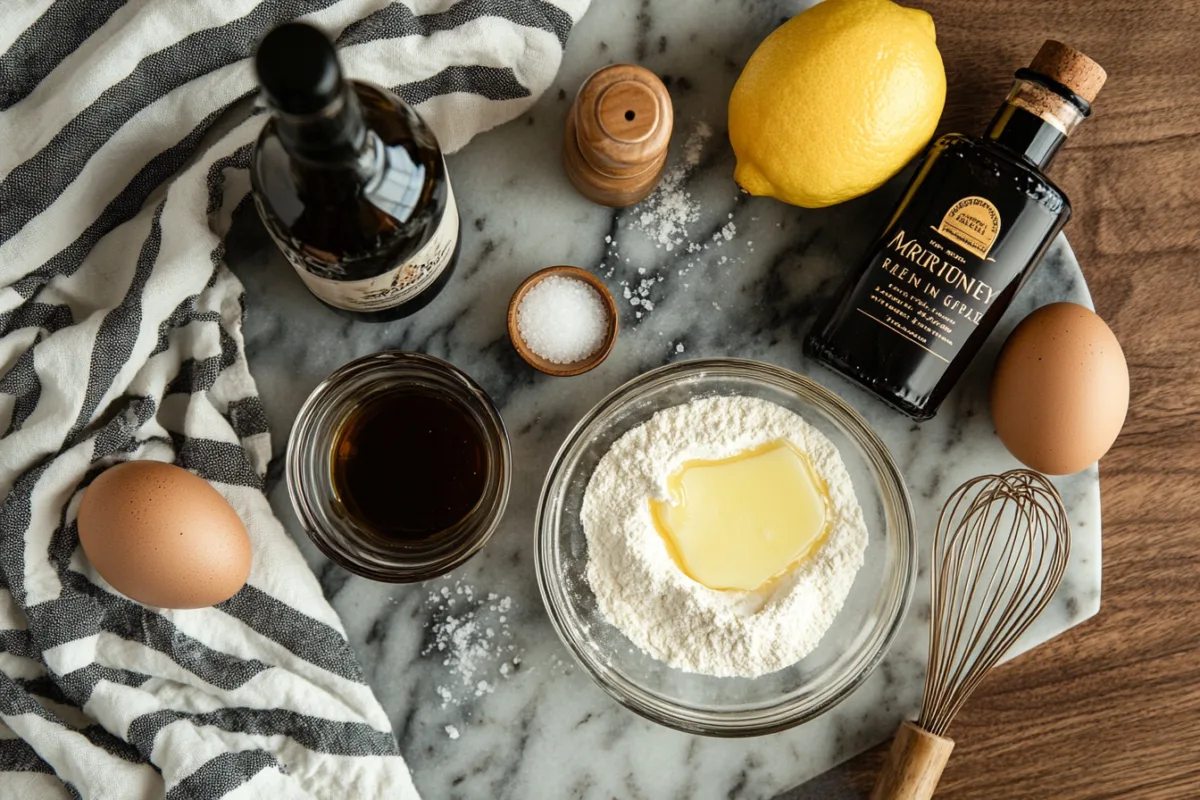
Best butter for madeleines
The quality of butter fundamentally shapes the taste and texture of French madeleine cookies. European-style butter, containing at least 82% butterfat, creates richer, more flavorful results compared to standard American butter with 80% butterfat.
Key butter considerations:
- Temperature control
- Room temperature for creaming
- Melted and cooled for incorporating
- Chilled for pan preparation
- Storage and handling
- Store wrapped in foil
- Keep away from strong odors
- Use within expiration date
Furthermore, unsalted butter allows better control over the final taste. When preparing the pan, brush melted butter into every ridge and crevice, then dust with flour. This technique ensures clean release and creates the characteristic golden-brown exterior.
Remember to bring all ingredients to room temperature before starting. Cold ingredients don’t incorporate properly, leading to uneven texture. Alongside quality butter, use fresh eggs, cake flour (lower protein content), and pure vanilla extract for authentic French madeleine flavor.
Step-by-Step Baking Process
Creating perfect madeleine cookies requires precise techniques and careful attention to timing. Let me walk you through the essential steps that professional French bakers follow.
Mixing the batter
Start by combining room temperature eggs with sugar until the mixture becomes pale and doubles in volume. Next, fold in the sifted flour mixture using gentle, circular motions. Finally, incorporate melted butter in small portions to maintain the batter’s airy structure.
| Ingredient | Temperature | Mixing Method |
|---|---|---|
| Eggs | Room temp (68°F) | Whip until pale |
| Flour mixture | Cool, sifted | Fold gently |
| Melted butter | Slightly warm | Stream slowly |
Resting time importance
After mixing, the batter needs proper rest. Place it in the refrigerator for at least 2 hours, although overnight resting yields superior results. This resting period allows the flour to hydrate fully and helps develop the signature hump during baking.
Proper pan preparation
First, brush melted butter into every ridge of your madeleine pan. Subsequently, dust with flour, tapping out excess. For optimal results, chill the prepared pan for 15 minutes before filling. Fill each cavity about three-quarters full – approximately 1 tablespoon of batter per mold.
Baking temperature tricks
Preheat your oven to 425°F (218°C). Place the filled pan in the oven and immediately reduce the temperature to 375°F (190°C). This temperature shock creates the characteristic bump. Bake for 11-13 minutes, rotating the pan halfway through.
Key baking indicators:
- Edges should turn golden brown
- Center should spring back when touched
- Bumps should rise prominently
- Bottoms should have even coloring
Once baked, immediately turn the madeleines onto a cooling rack. These delicate French treats taste best within an hour of baking, still slightly warm, alongside a cup of tea or coffee. Nevertheless, they maintain their texture for several hours when stored in an airtight container.
Common Madeleine Problems Fixed
Even experienced bakers face challenges when making madeleine cookies. Let’s explore solutions to the most frequent issues that arise during the baking process.
No hump forming
The characteristic hump on madeleines often proves elusive. Here’s a troubleshooting guide to ensure your cookies develop this crucial feature:
| Problem | Solution |
|---|---|
| Cold pan | Preheat pan for 5 minutes |
| Wrong temperature | Start at 425°F, drop to 375°F |
| Overmixed batter | Fold gently, stop when combined |
| Insufficient rest | Chill batter minimum 2 hours |
The key lies in creating a temperature shock. Place your chilled batter into a preheated pan, consequently causing rapid steam formation. This steam pushes the center upward, forming the signature bump. Additionally, ensure your oven rack sits in the middle position for optimal heat distribution.
Dense texture issues
Dense madeleines indicate several potential missteps in the baking process. First, check your ingredient temperatures – cold eggs won’t incorporate enough air during beating. Secondly, examine your mixing technique.
Common causes of density include:
- Undermixed egg-sugar mixture
- Overworked flour incorporation
- Butter temperature extremes
- Incorrect measuring techniques
To achieve the ideal light texture, start by beating room temperature eggs with sugar until the mixture becomes pale and doubles in volume. Rather than rushing this step, allow 5-7 minutes of beating time. Afterward, sift the flour mixture twice before folding it into the egg mixture.
For butter incorporation, stream it slowly along the bowl’s side rather than dumping it in the center. This method prevents the batter from deflating. Furthermore, ensure your butter reaches the right temperature – slightly warm yet not hot enough to cook the eggs.
If your madeleines still turn out dense, consider reducing the flour by 2 tablespoons in your next batch. Excess flour often leads to heavy, compact cookies rather than the light, springy texture characteristic of perfect French madeleines.
Conclusion
Making perfect French madeleines requires attention to detail and practice. While these delicate treats might seem challenging at first, mastering the essential elements ensures consistent success.
| Success Indicators | What to Look For |
|---|---|
| Visual Cues | Golden brown edges, prominent hump |
| Texture Check | Light, springy interior |
| Timing | 11-13 minutes at correct temperature |
| Storage | Best served within first hour |
Above all, remember three crucial factors: proper ingredient temperature, correct mixing technique, and precise baking temperature control. These elements work together to create the signature characteristics that define authentic French madeleines.
My years of baking experience have taught me that patience plays a vital role. Therefore, never rush the resting period or temperature adjustments. Each step builds upon the previous one, creating those distinctive features we love – the scalloped shell pattern, the famous hump, and that perfect balance between crispy exterior and tender interior.
Certainly, French madeleines stand as a testament to the artistry of traditional French baking. With these techniques and troubleshooting tips at hand, you can confidently create these elegant treats that would make any French pâtissier proud.
FAQs
How can I achieve the signature hump on my madeleines?
To get the characteristic bump, chill the batter for at least 2 hours, use a well-greased pan, and start baking at a higher temperature (425°F) before reducing it to 375°F. This temperature shock helps create the iconic hump.
What makes madeleines so delicious?
The secret to irresistible madeleines lies in their buttery flavor. Using high-quality butter, preferably European-style with higher butterfat content, contributes to their rich taste and tender texture.
How are madeleines traditionally enjoyed in France?
In France, madeleines are often savored as an afternoon snack or “goûter.” They’re perfect for dipping into tea or coffee and are sometimes dusted with powdered sugar or lightly glazed for added sweetness.
What are the key characteristics of an authentic French madeleine?
An authentic French madeleine features a distinctive scalloped shell shape, a prominent hump on the back, and a light, springy texture. It should have golden-brown edges and a delicate balance between a slightly crisp exterior and a tender interior.
How long do madeleines stay fresh?
While madeleines are best enjoyed within the first hour of baking when they’re still slightly warm, they can maintain their texture for several hours when stored in an airtight container. However, they’re typically not meant for long-term storage and are best consumed fresh.