

Table of Contents
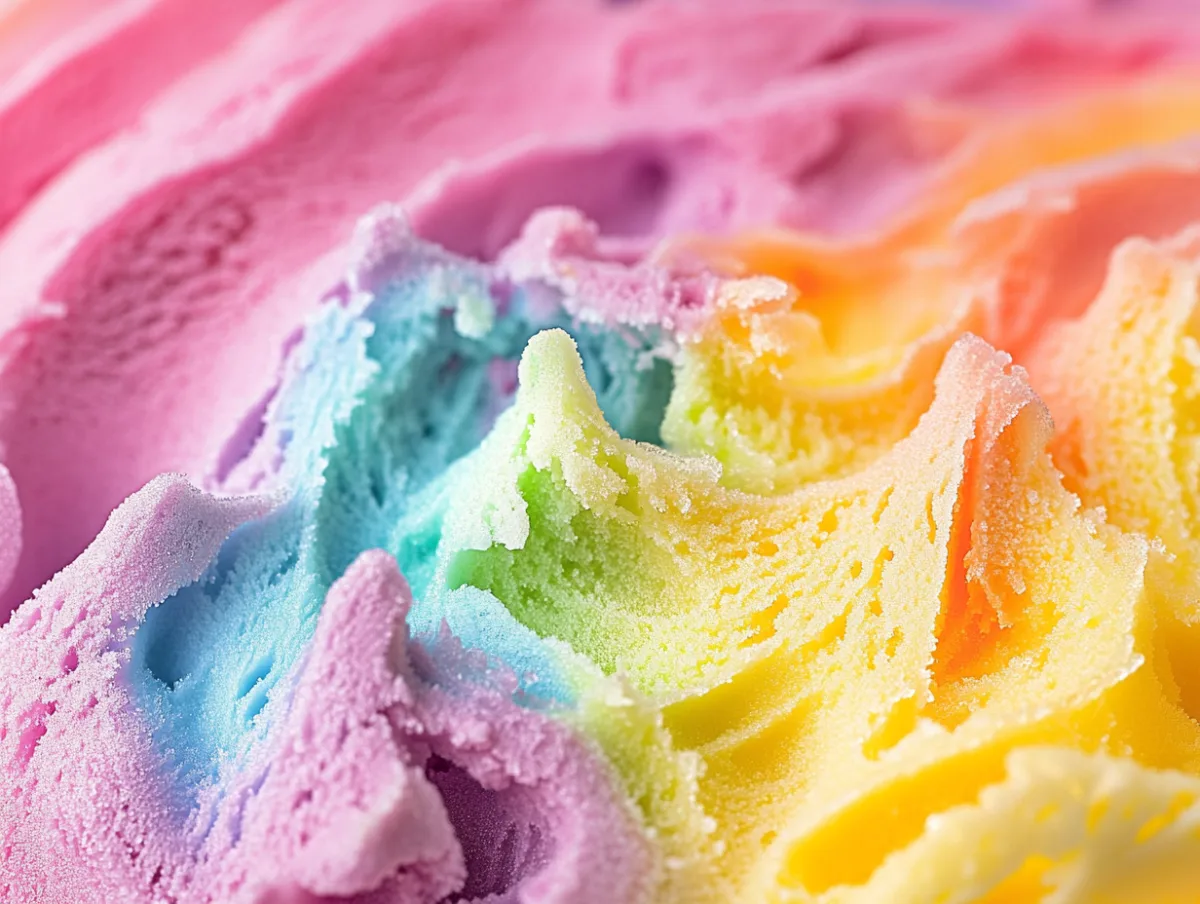
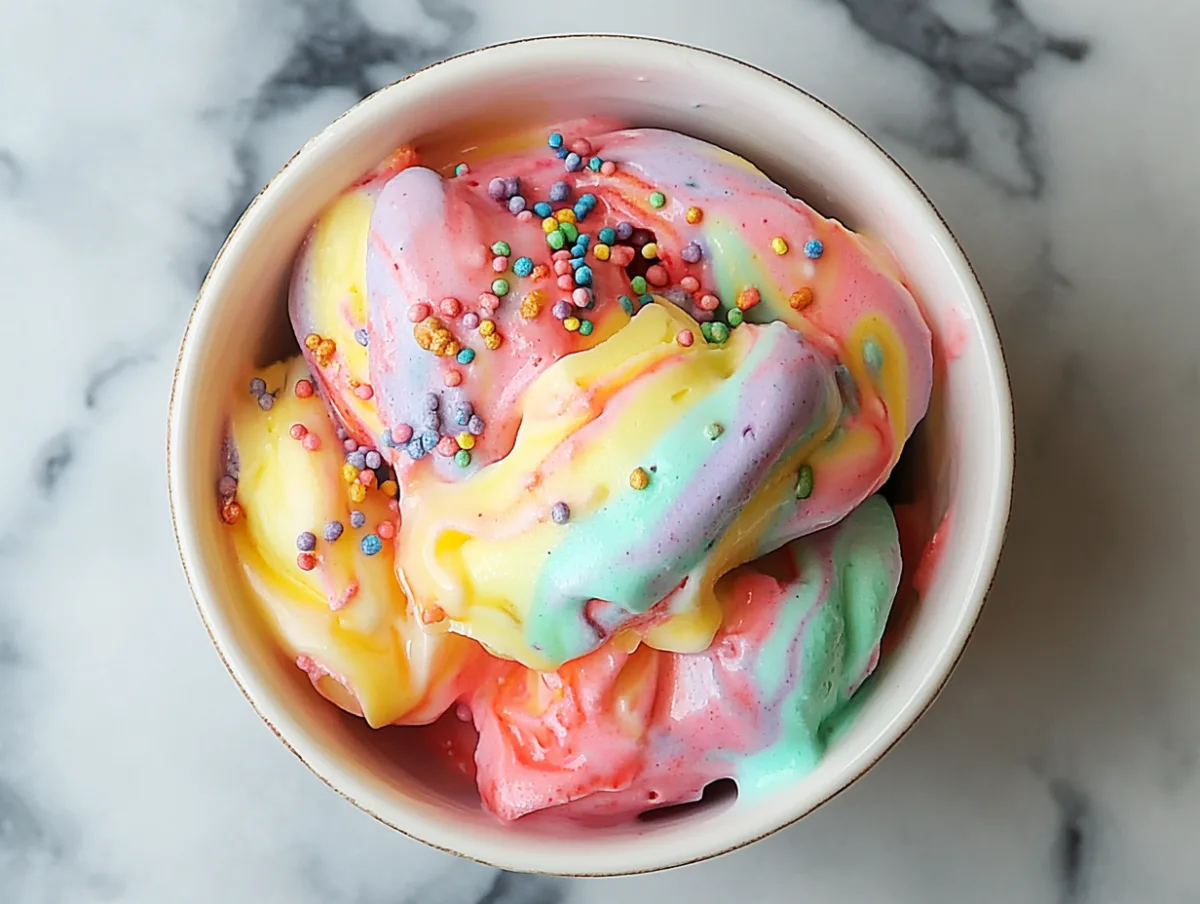
There’s something magical about a bowl of homemade rainbow sherbet. Its vibrant colors and refreshing taste make it a favorite among both kids and adults.
But have you ever wondered how to make this delightful dessert at home? It’s easier than you might think.
In this comprehensive guide, we’ll walk you through the process of making homemade rainbow sherbet. We’ll cover everything from selecting the right fruits to achieving the perfect creamy texture.
Whether you’re a seasoned home cook or a beginner in the kitchen, this guide is designed to help you succeed.
So, are you ready to bring a splash of color to your dessert table? Let’s dive into the world of homemade rainbow sherbet.
Understanding Sherbet: A Colorful Delight
Sherbet is a frozen dessert that sits somewhere between ice cream and sorbet. It’s known for its light, refreshing taste and smooth texture.
Unlike ice cream, sherbet contains less milkfat. This gives it a lighter, less creamy texture. On the other hand, it’s not as icy as sorbet because it does contain some dairy.
Rainbow sherbet, in particular, is a colorful variant that combines several fruit flavors. Each color represents a different flavor, creating a delightful mix in every spoonful.
The origins of rainbow sherbet trace back to the United States in the mid-20th century. It quickly gained popularity due to its appealing look and refreshing taste.
Here are some key features that set sherbet apart:
- Lower milkfat content than ice cream
- Contains some dairy, unlike sorbet
- Combines multiple fruit flavors
- Known for its vibrant colors and refreshing taste
Understanding what makes sherbet unique will help you master the art of making it at home. Let’s move on to the ingredients you’ll need for your homemade rainbow sherbet.
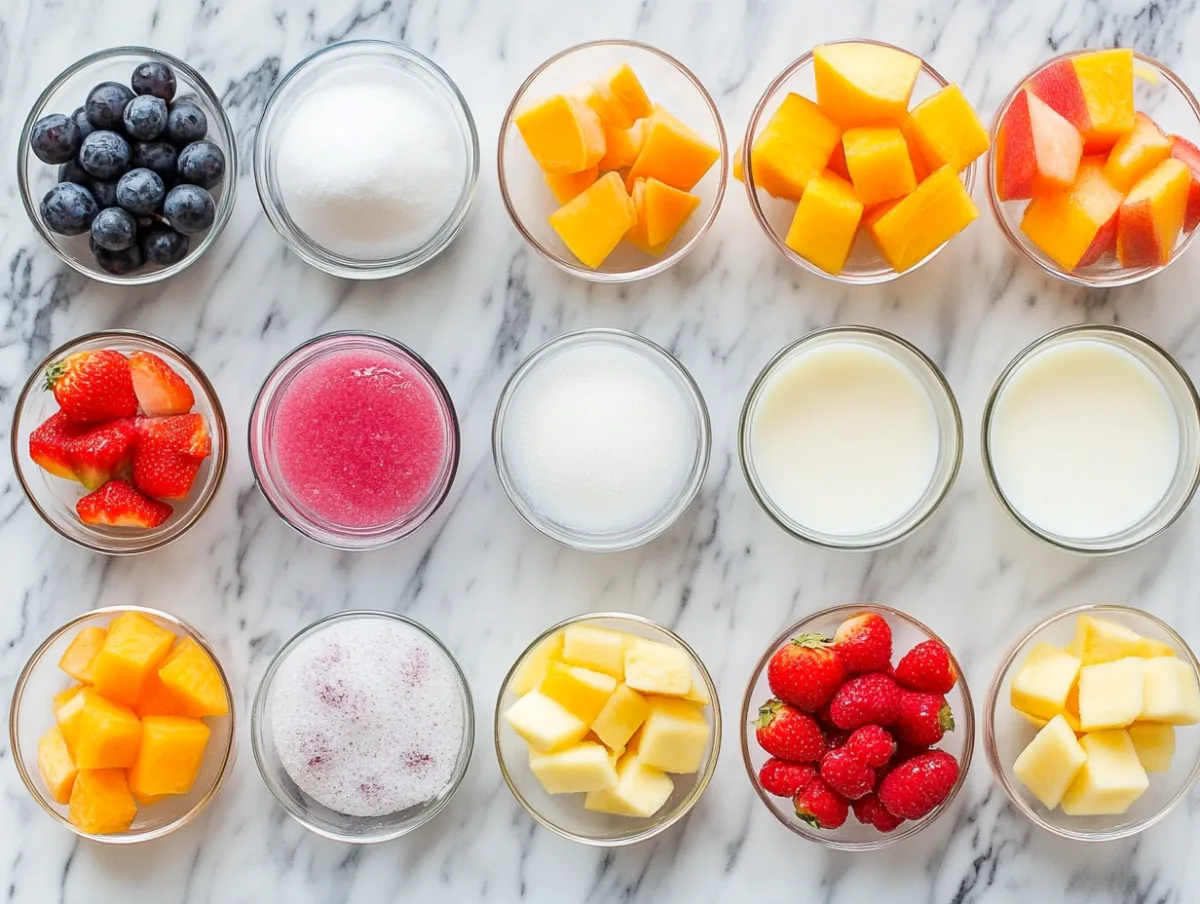
Essential Ingredients for Rainbow Sherbet
Making rainbow sherbet at home requires a few key ingredients. These include fresh fruits, sugar, milk, and optional food coloring.
The fruits you choose will determine the flavors of your sherbet. Common choices for rainbow sherbet include raspberry, orange, and lime. These fruits not only provide distinct flavors but also natural colors.
Sugar is essential for sweetness and texture. It helps lower the freezing point of the mixture, preventing it from becoming too hard.
Milk adds a touch of creaminess to the sherbet. While sherbet contains less dairy than ice cream, the milkfat it does contain contributes to its smooth texture.
Food coloring is optional. If you prefer a more vibrant look, you can add a few drops to each fruit mixture. Just remember, the goal is to achieve a rainbow effect, so choose your colors wisely.
Here’s a quick rundown of the essential ingredients:
- Fresh fruits (raspberry, orange, lime)
- Sugar
- Milk
- Optional food coloring
With these ingredients in hand, you’re ready to start making your homemade rainbow sherbet.
Equipment You’ll Need
To make homemade rainbow sherbet, you’ll need some basic kitchen equipment. The most important tool is an ice cream maker. This machine churns the sherbet mixture, creating a smooth and creamy texture.
In addition to an ice cream maker, you’ll also need a blender or food processor. This is used to puree the fruits for your sherbet. A fine-mesh strainer is also handy for removing any seeds or pulp from the fruit puree.
Lastly, you’ll need a freezer-safe container to store your sherbet. Choose one that’s large enough to hold all the sherbet, but small enough to fit in your freezer.
Step-by-Step: Crafting Your Sherbet Base
Creating the base for your homemade rainbow sherbet is a simple process. Start by selecting your fruits. You can use any combination of fruits you like, but traditional rainbow sherbet often includes raspberry, orange, and lime.

Once you’ve chosen your fruits, you’ll need to puree them. This can be done in a blender or food processor. After pureeing, strain the mixture to remove any seeds or pulp. This will ensure your sherbet has a smooth texture.
Next, you’ll need to create a sugar syrup. This is done by heating sugar and water in a saucepan until the sugar dissolves. Once the syrup is ready, let it cool before adding it to the fruit puree.
The next step is to add dairy to your sherbet base. Traditional sherbet recipes use a combination of milk and cream. However, you can also use non-dairy alternatives like almond milk or coconut cream.
Once you’ve combined the fruit puree, sugar syrup, and dairy, your sherbet base is ready. At this point, you can taste the mixture and adjust the sweetness or acidity as needed.
The final step before freezing is to churn the sherbet base in an ice cream maker. This process incorporates air into the mixture, resulting in a light and creamy texture.
After churning, your sherbet base is ready to be colored and layered to create the rainbow effect. But more on that in the next sections.
Achieving the Rainbow: Coloring Techniques
Creating the vibrant colors of rainbow sherbet can be done in two ways. You can use the natural colors of the fruits, or you can enhance them with food coloring.
If you’re using natural colors, choose fruits that have strong, distinctive hues. For example, raspberries for red, oranges for orange, and limes for green. The color of the sherbet will depend on the ripeness and variety of the fruit.
For a more vibrant rainbow, you can use food coloring. Add a few drops to each fruit puree until you achieve the desired shade. Remember, the color will lighten once the sherbet is frozen.
Whether you choose natural or artificial colors, the key is to create a visually appealing spectrum. This will make your homemade rainbow sherbet a feast for both the eyes and the palate.
Layering Your Sherbet: A Spectrum of Flavors
Layering your sherbet is where the magic happens. This is where you create the beautiful rainbow effect that makes this dessert so special.
Start by spooning a layer of one color into your container. Smooth it out, then freeze it for a short time. This helps keep the colors separate.
Next, add a layer of a different color. Repeat the process until all your colors are layered. Remember to freeze briefly between each layer.
The result is a stunning spectrum of flavors, each one a delightful surprise. Your homemade rainbow sherbet will not only taste amazing, but it will also be a visual treat.
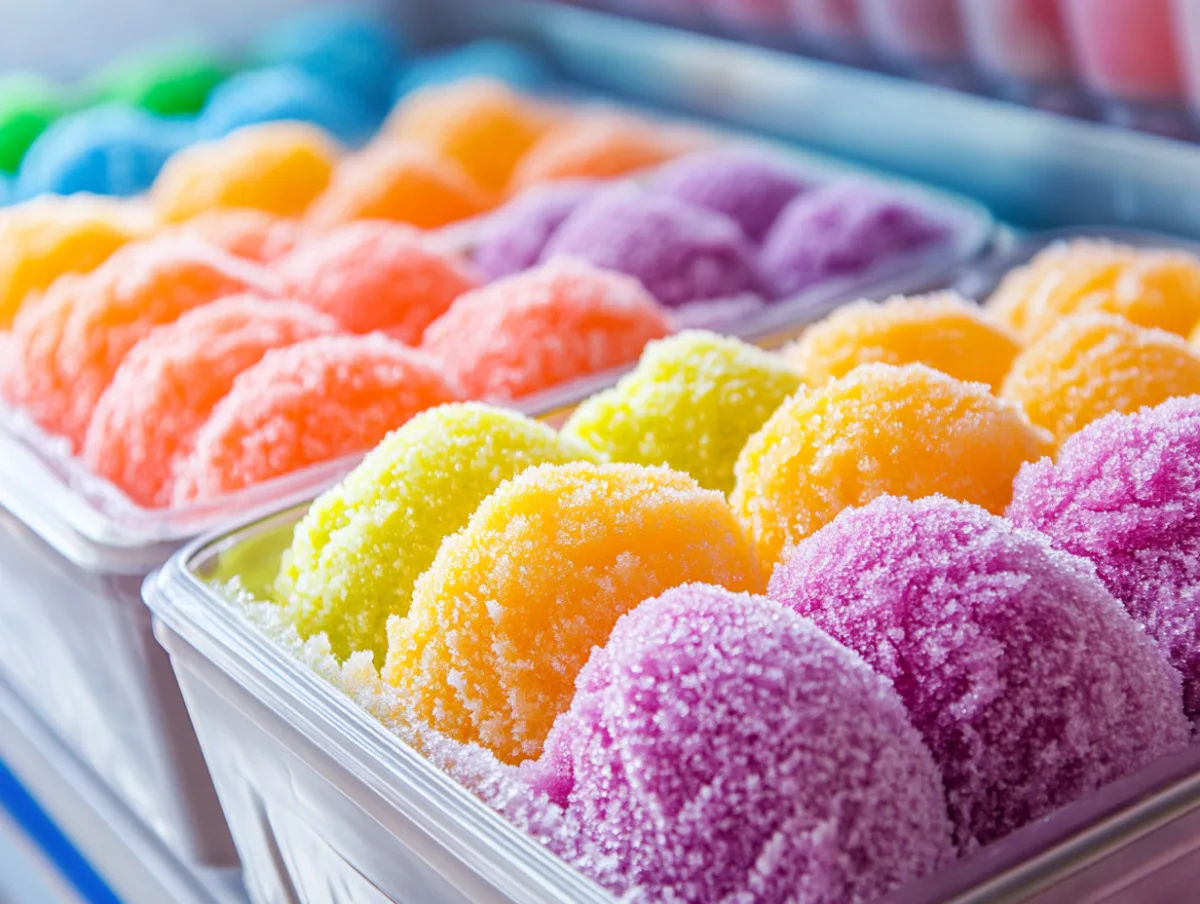
Freezing and Storage Tips for Perfect Consistency
Freezing your sherbet properly is key to achieving the perfect consistency. It should be firm but not rock hard, and creamy but not icy.

Store your sherbet in an airtight container in the freezer. This will help maintain its texture and prevent it from absorbing other flavors.
Remember, homemade sherbet is best enjoyed within a week. After that, it may start to lose its texture and flavor. So, dig in and enjoy your homemade rainbow sherbet while it’s at its best!
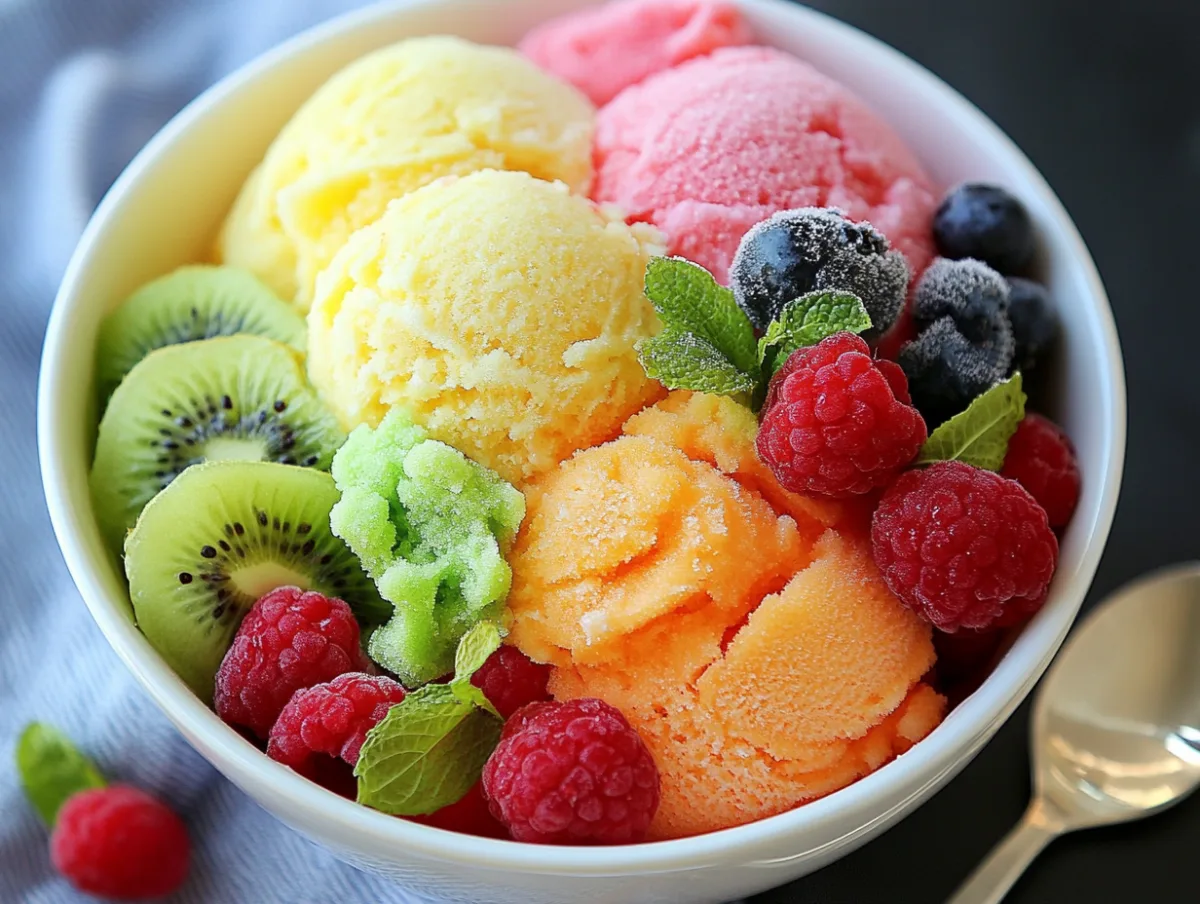
Serving and Presentation: Making It Special
Presentation is everything when it comes to desserts. A well-presented sherbet can make the experience even more enjoyable.
Serve your homemade rainbow sherbet in a clear glass bowl to showcase its vibrant colors. You can also garnish it with fresh fruits or mint leaves for an extra touch of elegance.
Remember, the goal is to create a feast for the eyes as well as the palate. So, get creative and make your homemade rainbow sherbet the star of your dessert table!
Customizing Your Sherbet: Variations and Dietary Adjustments
One of the joys of making homemade rainbow sherbet is the ability to customize it to your liking. You can experiment with different fruit combinations to create your signature flavor.
For those with dietary restrictions, there are plenty of options. You can make a dairy-free version by substituting milk with coconut milk or almond milk.
If you prefer a sugar-free sherbet, consider using natural sweeteners like honey or stevia. Just remember to adjust the quantity to achieve the right balance of sweetness and acidity.
Here are some ideas for customizing your sherbet:
- Use tropical fruits like mango and pineapple for a summer vibe.
- Add a splash of your favorite liqueur for an adult version.
- Experiment with herbs like mint or basil for a unique twist.
Remember, the key is to have fun and let your creativity shine!
Troubleshooting: Common Homemade Sherbet Challenges
Making homemade rainbow sherbet can be a fun and rewarding experience. However, like any culinary endeavor, it can come with its own set of challenges.
One common issue is the sherbet turning icy or grainy. This can be due to insufficient churning or too much water content in the fruit. To avoid this, make sure to churn the mixture thoroughly and reduce the juice if necessary.
Another challenge is achieving the right balance of sweetness and acidity. If your sherbet tastes too sweet or too tart, adjust the sugar or citrus juice accordingly. Remember, taste testing is key to perfecting your recipe.
The Joy of Homemade: Benefits and Takeaways
Making homemade rainbow sherbet is not just about creating a delicious dessert. It’s also about the joy of crafting something with your own hands and sharing it with your loved ones.
There are several benefits to making your own sherbet. For one, you have complete control over the ingredients. This means you can adjust the recipe to suit your dietary needs or preferences.
Moreover, homemade sherbet is often healthier than store-bought versions. You can reduce the amount of sugar, avoid artificial colors, and use fresh, organic fruits.
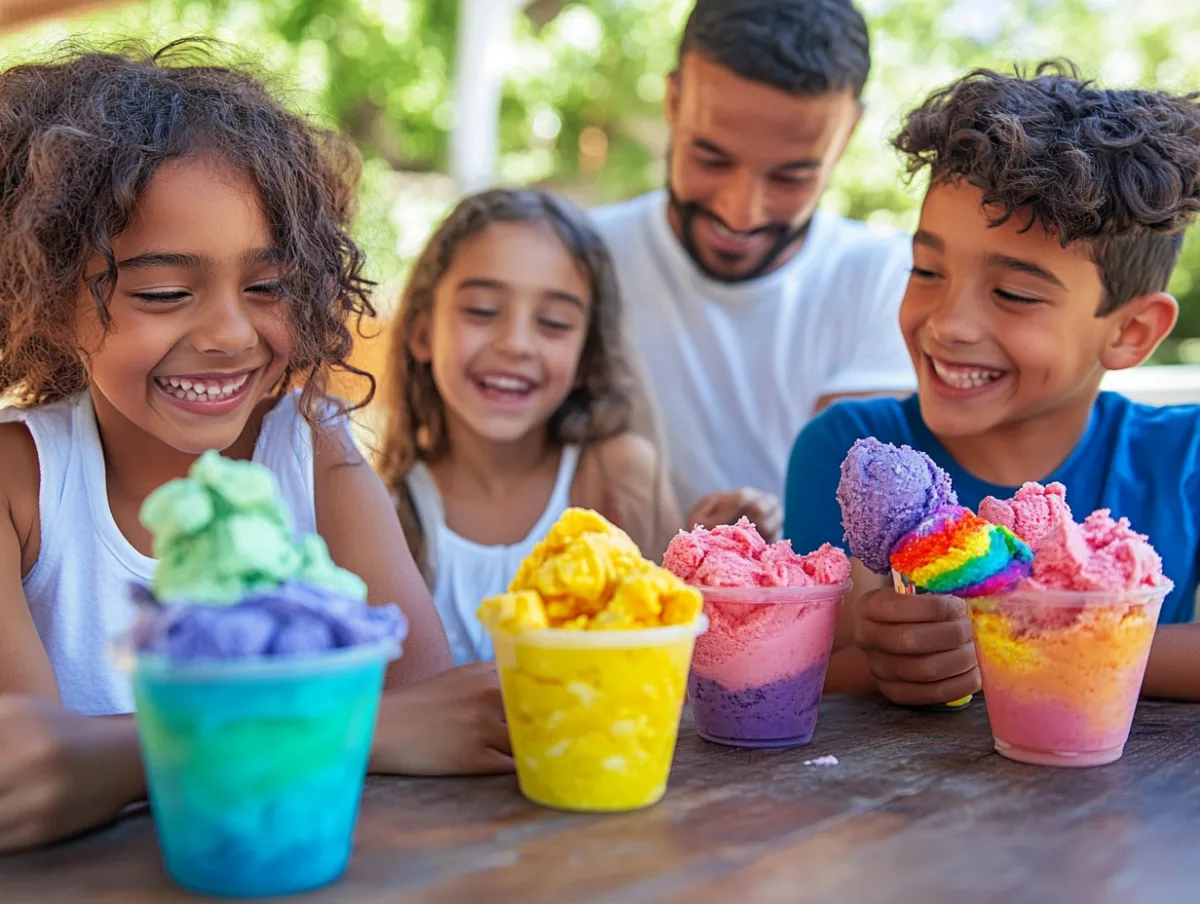
Lastly, making sherbet at home can be a fun and educational activity for kids. It’s a great way to teach them about colors, flavors, and the science behind freezing and emulsification.
Here are some key takeaways from our guide on making homemade rainbow sherbet:
- Homemade sherbet allows for customization and control over ingredients.
- It’s a healthier alternative to store-bought versions.
- Making sherbet can be a fun and educational activity for kids.
- The process of making sherbet can be a joyful and rewarding experience.
- Sharing homemade sherbet with friends and family can create memorable moments.
More Recipes