
Welcome, dear reader!
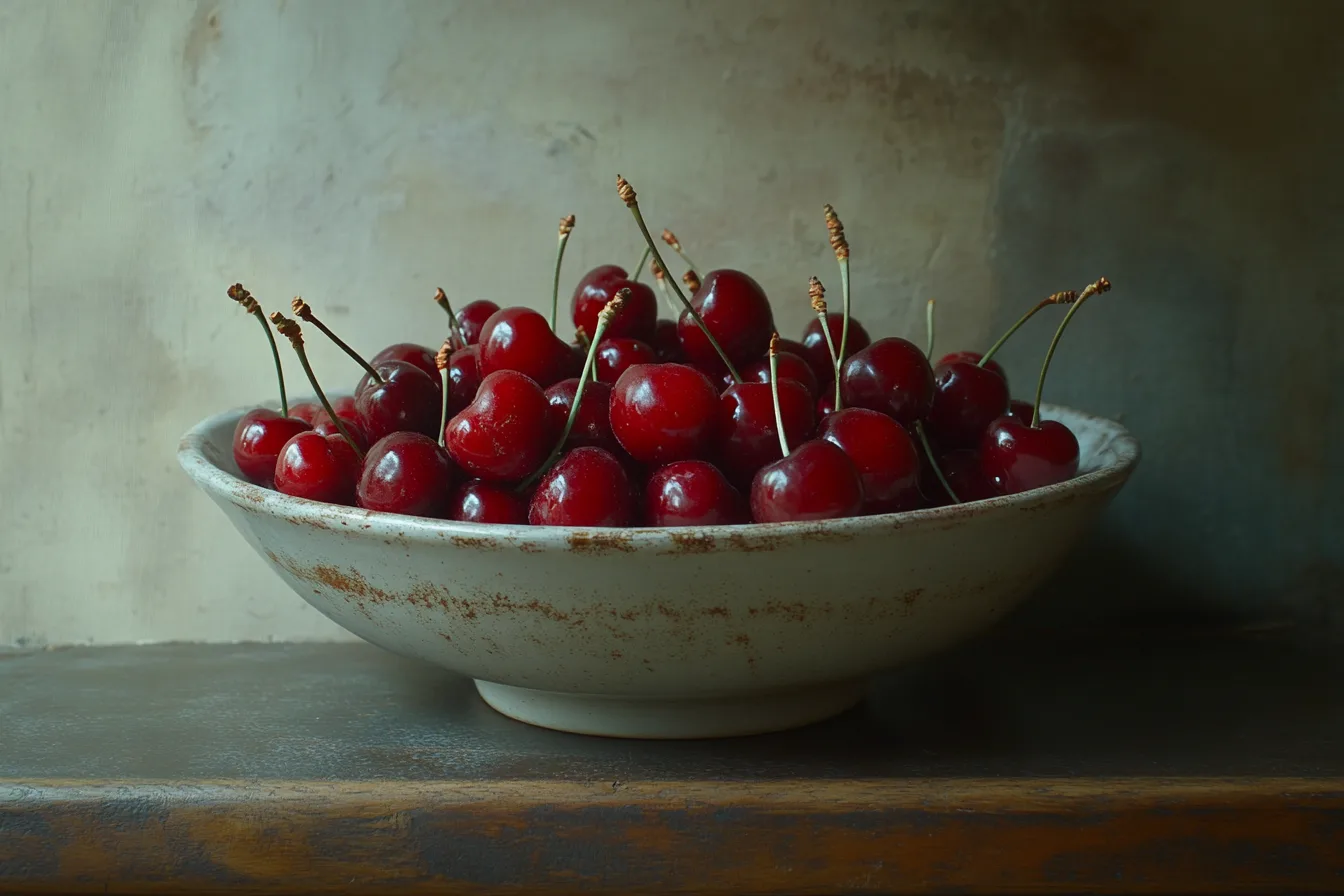
Summer is here, and with it comes the joy of fresh, juicy cherries.
What better way to celebrate this season than with a delicious cherry crisp? This dessert is a perfect blend of sweet, tart cherries and a crumbly, buttery topping.
Whether you’re a busy parent looking for a quick dessert to delight your family, or a beginner cook eager to try your hand at baking, this cherry crisp recipe is for you.
In this guide, we’ll walk you through each step of this old-fashioned cherry crisp recipe. We’ll also share tips and tricks to ensure your success, even if it’s your first time baking.
So, are you ready to fill your kitchen with the irresistible aroma of baking cherries and oats? Let’s dive in!
Why Cherry Crisp is the Perfect Summer Dessert
Cherry crisp is a classic summer dessert for a reason.
Firstly, it’s a celebration of fresh cherries, which are at their peak during the summer months. The sweet-tart flavor of cherries shines through in this dessert, making it a refreshing treat on hot days.
Secondly, the crumbly topping adds a delightful contrast to the juicy cherries. It’s a combination of textures that’s sure to please your palate.
Lastly, cherry crisp is surprisingly easy to make. With our step-by-step guide, you’ll have a delicious dessert ready in no time. Perfect for those busy summer days!
What You’ll Need: Ingredients Breakdown
Let’s start with the star of the show: cherries. You’ll need about 4 cups of pitted cherries for this recipe.
Next, for the filling, you’ll need some sugar to sweeten things up. A bit of cornstarch will help thicken the cherry juices as they cook. A splash of lemon juice will balance out the sweetness and enhance the flavor of the cherries.
For the crumbly topping, you’ll need flour, oats, brown sugar, and butter. These ingredients come together to create a sweet, crunchy layer that complements the soft, juicy cherries perfectly.
Here’s a quick rundown of the ingredients:
- 4 cups of pitted cherries
- 1 cup of sugar
- 2 tablespoons of cornstarch
- 1 tablespoon of lemon juice
- 1 cup of flour
- 1 cup of oats
- 1 cup of brown sugar
- 1/2 cup of butter
Fresh vs. Frozen Cherries: Making the Choice
When it comes to choosing between fresh and frozen cherries, it’s really up to you.
Fresh cherries are ideal if they’re in season. They offer a vibrant flavor that’s hard to beat. However, pitting fresh cherries can be a bit time-consuming.
Frozen cherries, on the other hand, are a convenient option. They’re already pitted and ready to use. Plus, they’re available year-round.
Just remember, if you’re using frozen cherries, you’ll need to thaw and drain them first to avoid a soggy crisp.
Prepping Your Cherries Like a Pro
If you’ve chosen fresh cherries, you’ll need to pit them. Don’t worry, it’s easier than it sounds!
You can use a cherry pitter if you have one. If not, a simple trick is to use a straw or a chopstick. Just push it through the cherry to remove the pit.
Remember to do this over a bowl to catch the juice. You don’t want to waste any of that cherry goodness!
Crafting the Crumbly Topping
Now, let’s move on to the topping. This is what gives the cherry crisp its name!
You’ll need flour, oats, brown sugar, and butter. These ingredients create a sweet, crumbly layer that contrasts beautifully with the juicy cherries.
Combine them in a bowl. Use your fingers to rub the butter into the dry ingredients until it resembles coarse crumbs.
Don’t worry if it’s not perfect. The beauty of a crisp is in its rustic charm!
Substitutions and Variations for Your Topping
Want to mix things up a bit? You can!
Try using almond flour for a gluten-free option. Or add some chopped nuts for extra crunch.
You can also experiment with spices. Cinnamon or nutmeg would add a lovely warmth to your cherry crisp.
Remember, cooking is all about making it your own. So, feel free to get creative!
Assembling Your Cherry Crisp
Alright, it’s time to bring it all together. This is where the magic happens!
Start by spreading your cherry mixture evenly in a baking dish. Make sure to pour in all the juices too. They’ll help create a deliciously gooey base.
Next, sprinkle your crumbly topping over the cherries. Don’t press it down, let it sit loosely. This will ensure a nice, crisp finish.
And there you have it! Your cherry crisp is ready for the oven.
Baking to Perfection: Times and Temperatures
Now, pop your assembled cherry crisp into a preheated oven. Set it at 375°F (190°C) for the perfect bake.
Bake for about 45 minutes, or until the topping is golden and the cherry filling is bubbling. Trust me, your kitchen will smell heavenly!
Serving and Storage Tips
Once your cherry crisp is baked, let it cool for a bit before serving. It’s divine when served warm with a scoop of vanilla ice cream or a dollop of whipped cream.
If you have leftovers, store them in an airtight container in the fridge. They’ll stay delicious for up to 3 days. Just reheat before serving!
FAQs and Troubleshooting
Got questions or facing some hiccups?
Don’t worry, it happens to the best of us. Let’s tackle some common queries and issues you might encounter while making this cherry crisp recipe.
If your topping isn’t as crispy as you’d like, try broiling it for a few minutes. Just keep a close eye to avoid burning!
Conclusion and Call to Action
And there you have it, folks! A simple, delicious cherry crisp recipe that’s perfect for summer. Whether you’re a busy parent or a beginner cook, this recipe is sure to impress.
Now it’s your turn to give it a try. Don’t forget to share your cherry crisp creations with us. Happy baking!